It’s very disappointing to watch newly installed bubble stones constantly floating up at the surface. Well, this is a common problem for light and small bubble stones. They keep floating on the surface. And it is super annoying too.
So, the question arises – “How to keep a bubble stone down?”
Bubble stones can be kept down by installing suction cups, reducing pump pressure, anchoring with stones, etc. However, installing suction cups is the most effective here. However, unclogging them is also an effective measure.
These were just the overview of things you can do. We’ve mentioned a step-by-step guideline on how to execute them in our article. Now, let’s bring those bubbles stones down-
Bubble/Air Stone Not Sinking: Is That Okay?
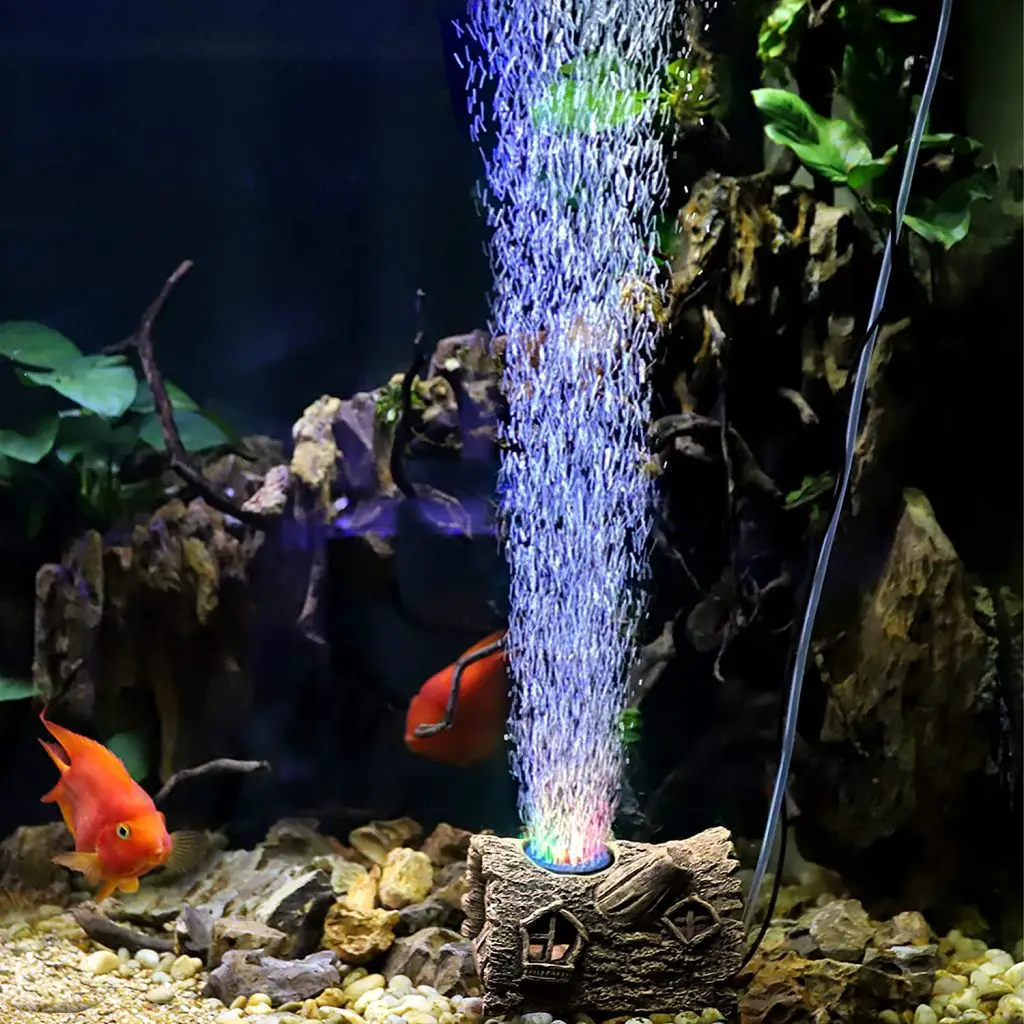
Air stones are fixated at the mouth of the air pump, diffusing oxygen into the tank. It does that by emitting innumerable small air bubbles.
Ideally, the airstone must stay at the bottom of the tank. That way, the entire tank gets diffused with oxygen. But if the air stones come to the surface, the oxygen bubbles only dissipate there. This hinders the exposure of the entire tank to oxygen.
One might wonder why air stones are facing this coming up to the surface problem. Well, you would be happy to know that it’s not only air stones that struggle to stay in one place. It’s really challenging to keep the floating plants in one place.
Why Air Stones Might Float Up Unusually?
It’s quite common for air stones to come up to the surface instead of being stationary at the bottom. But, why does it happen? There are 4 specific reasons for which an air stone might float up unusually. Let’s have a look-
The first reason is the air stone to tank size ratio. Small air stones are seen to float the most. The Pawfly 1 inch airstone is the best example here. They are very light in weight and they come up once installed.
Secondly, if you use a flexible tube without any suction cups to a small airstone, it favors the stone to be in motion. And eventually, it comes up.
Thirdly, if the base of the air stone is not weighted, it fails to keep them at the bottom. Many small air stones are found with a heavy base which restricts them from floating.
Finally, if the air pressure in the tank is too much, it adds back pressure on the pump. Which causes the airstone attached to come up.
4 Ways to Keep Aquarium Air Stones in Place
Now you know why air stones float up. The next step? Let’s see how to keep a bubble stone down. We have arranged a number of solutions which will help you keep them at the bottom. Let’s have a look-
Which Method Should You Pick?
Now that we have mentioned all of these methods, it might confuse you more. You might not be able to decide which will be best for you. For that, we have made a quick comparison of the efficiency of these methods. Let’s have a look-
| Method | Cost (Avg of 15 products) | Time | Availability | Ease |
| Suction Cup | $3.00 | 5-10 minutes | Easily available in aquarium stores | Very easy |
| Air Pressure | $7.00 | 20-30 minutes | The control valve is a bit tricky to find. | Medium level of effort needed |
| Anchor with Stone | (pre-existing in the aquarium) | 5 minutes | Highly available | Very easy |
| Bleach washing | (Home available) | 2 days | Available at home | Needs careful handling |
| Hydrogen Peroxide soaking | $2.5-$3.00 | 2 days | Available in super shops | Needs careful handling |
| Vinegar washing | (Home available) | 1 day | Available at home | Very easy |
Method 1: Adjust Air Pressure
The air pressure from the pump can determine the number of bubbles diffusing in the tank. If the pressure is too high, lesser bubbles will be supplied. That’s because more pressure causes additional back pressure to the pump. This can cause the airstone attached to the pump to float.
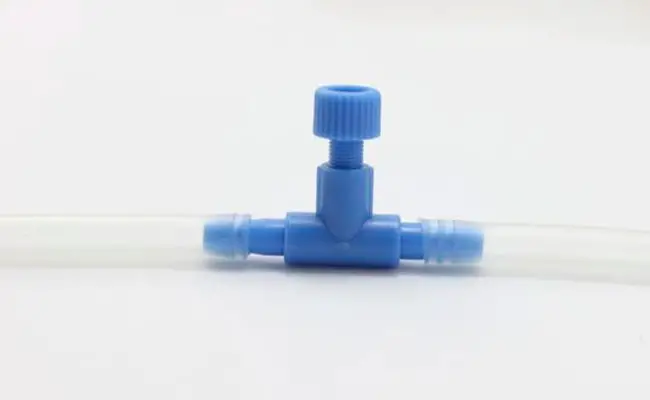
One of the ways is to install a bleed valve to decrease this excess air pressure.
So the question asked by many is: Does the bleeding valve method actually work to keep air stone down?
Yes. The way to reduce this air pressure is by installing a bleed valve instead of an inline valve. Bleed valves redirect the airflow. For that, it reduces the backpressure of the pump. This will cause a moderate amount of air bubbles to flow from the airstone which will stop it from floating.
How to Make Bleed Valves at Home
You can easily make a bleed valve at home. For this, you would need the following-
Things you’ll need
Step 1 of 3: Cut the airline
The airline is the tube that is attached to the air pump. Through the airline, the oxygen is passed from the air pump to the tank via air stone. You need to make a cut anywhere where you wish to install the valve.
Step 2 of 3: Install the Airline T
After you have made the cut, it’s time to install the airline T. Simply put two horizontal openings of the T to the upper and lower part of the cut. Make sure to use a T that will fit your default airline.
Step 3 of 3: Add Tube and Control Balve
After you have installed the T, put a small tube of about 0.5 inches to the third opening of the T. After that, insert one of the two horizontal openings of the control valve to the end of the tube. There you have it! You have installed your bleed valve to your pump.
Bonus Tip: Add Outer Tube to Reduce Noise
This is a bonus tip for you!
If the hissing sound of the valve is annoying you, simply take some extra tubings. Then insert the tube to the other end of your control valve. This will totally stop the hissing sound of your bleed valve.
After you have successfully made a bleed valve on your own, it’s time to make it work. Simply reduce the air pressure by turning the wheel of your control valve. This will reduce the floating tendency of your airstone.

Method 2: Use Mini Suction Cups
The next method we are going to suggest is using mini suction cups to hold the tube to the wall. This is the easiest way to keep air stones from floating. All you need are two/three suction cups. So, let’s answer the most common question asked- How do I stop my aquarium bubbler from floating?
Aquarium bubblers can be stopped from floating by using suction cups. What you can do is attach two cups to the tube. One at the surface and the other at the bottom. These suction cups will then be attached to the wall. These will hold the tube at the bottom and thus keep your air stone stationary at the bottom.
Here are some suggestions on mini suction cups-
| Image | Products | Get it Here |
|---|---|---|
 | Pawfly Suction Clips | Get it Here |
 | Pawfly Suction Clips with Zip Ties | Get it Here |
 | Whaline Suction Clips | Get it Here |
Method 3: Anchor it with Rock/Stone
If you can’t afford to find suction cups near you, you can use rocks/stones to hold the air stone at the bottom. But note that, using rocks is not as effective as suction cups. You should only consider it if you don’t find suction cups near you. So, the question arises: How do you anchor an air stone in an aquarium?
You can put one or two small rocks over your tube at the bottom. For this, you need to lie down the tube on the sand/gravels/stones of your tank. Then gently put a small rock over the tube. The rock should be heavy enough to hold the tube but not restrict the airflow inside.

The catch here is obviously to put the right stone over the tube. For this, check the number of bubbles ejecting from the tube before putting the stone over it. After that, compare it when placing a stone over the tube. If there’s no change in the number of bubbles, you are good to go.
Method 4: Unclog the Airstone
Okay, now we’ll be talking about airstone clogging and why it may cause your airstone to float. So what is airstone clogging and what does it have to do with air stone floating?
Air stones are made up of millions of tiny pores. These tiny pores emit oxygen bubbles into the tank. But these airstones generally wear out after 4-6 weeks of use.
Bacteria, algae, dust, and calcium accumulate on them over time. This makes the airstone less effective and bubbles are trapped inside. When these bubbles are trapped inside the airstone, they can’t emit them. This makes them float on the surface sometimes.
There are 3 ways to unclog these air stones if you are not up for replacing them at the moment. These 3 ways are Bleach washing, soaking in hydrogen Peroxide, and lastly in vinegar-water solution. Let’s have a wider look at these processes-
Bleach Washing
When it comes to bleach washing, people have a lot of concerns. Many people want to know if it’ll be safe or not to use bleach.
So our main concern is – Should I bleach wash my air stone?
Yes. Bleach washing is an effective measure to unclog the air stone. It removes the impurities from the stone. However, if the bleach is not completely removed afterward, it can harm your fish. So make sure you remove the bleach completely. Just follow these 4 steps for bleach washing-
- Wash the airstone with water and rub any outer layering visible.
- Put the airstone in boiling water for 10-15 minutes
- Dry the airstone and put in a solution of bleach and water( Add 3 cups water to 1 cup household bleach). Put the stone in the solution for a day.
- Place the airstone in clean water for 20 minutes. Turn the pump on and let it run. This will remove the bleach from the airstone.After 20 minutes, dry it for 24 hours.
Soak in Hydrogen Peroxide
Many people are concerned about how bleach can harm living materials inside the aquarium. Well, this happens when the bleach is not fully removed from the air stones. So if you want to avoid that, you can use hydrogen peroxide instead.
In this case, soak your airstone in hydrogen peroxide for a night. After that, put some denture cleaning tablets in the water. Soak the air stones for a night. After that, use the same method as bleaching to remove the hydrogen peroxide and dry the airstone off.
Water+Vinegar Solution
If your airstone has developed a calcium line, you can use vinegar to remove it. Calcium lines develop if you have heavy mineral content in your tank water.
Soak the clogged air stones in vinegar solution for a whole day. Then remove it and dry the stone off as mentioned before. you‘ll get rid of clogs.
Still Stuck? Time for an Air Stone Upgrade
Now, the suggestions that we made above are to help keep your air stone from floating. In case you don’t have the time to do those, you can replace your existing one. We’ve come up with a couple of ideas with which you can replace air stone. Moreover, you won’t have to face the pesky floating problem. Let’s take a look-
Use an Anchor Air Stone for Aquarium
An anchor airstone is basically designed so that it can be secured at the bottom of the tank. It has an anchor which is made up of plastic. The anchor is kept at the bottom and due to its weight, it doesn’t come up.
The anchor air stone can be easily set up in your tank. First, attach the airline tube of the pump to the anchor air stone. Turn the pump off. After that, put the plastic anchor at the bottom of the tank. Put some gravel on top of it. If you do these, the anchor air stone will not come to the surface anymore.
Use Air Stones That are Heavy Enough
As we mentioned earlier, the easiest way for keeping the airstone from floating is to add weight. However, some types of air stones are already quite heavy which keeps them down. You can use them instead of your present air stone. Some of the heavy air stones are listed for you-
FAQs
Do aquariums need bubblers?
It’s better if aquariums have bubblers in them. They help exponentially in the gaseous exchange inside aquariums. They create innumerable bubbles that directly diffuse oxygen inside the aquarium.
How long do air stones last?
Air stones generally reduce their efficiency in about 6 weeks. However many air stones are seen to last about 6 months. It lasts longer when there’s a minimal amount of minerals in the water.
Do fish like air bubbles?
Fishes are seen to align themselves around the airstone where bubbles are made. They inhale the dissolved oxygen, Moreover, they can breathe easily there. So it’s imperative that they feel comfortable if there’re bubbles.
Conclusion
We hope we’ve been able to help you in solving your bubble stone floating problem. You now know how to keep a bubble stone down. If you followed all of our suggestions, then those stones should not float or come up anymore.
Thank you for staying with us till the very end. Do let us know if you have any further queries!
